Order of Battle: Panzerkrieg DLC
| App ID | 712340 |
| App Type | DLC |
| Developers | The Artistocrats |
| Categories | Single-player, Steam Achievements, Multi-player, Downloadable Content, Steam Trading Cards, Includes level editor |
| Genres | Strategy, Simulation |
| Release Date | 30 Nov, 2017 |
| Platforms | Windows, Mac |
| Supported Languages | English, French, German, Spanish - Spain, Russian |

Order of Battle: Panzerkrieg has garnered a total of 3 reviews, with 2 positive reviews and 1 negative reviews, resulting in a ‘Mixed’ overall score.
Reviews Chart
Chart above illustrates the trend of feedback for Order of Battle: Panzerkrieg over time, showcasing the dynamic changes in player opinions as new updates and features have been introduced. This visual representation helps to understand the game's reception and how it has evolved.
Recent Steam Reviews
This section displays the 10 most recent Steam reviews for the game, showcasing a mix of player experiences and sentiments. Each review summary includes the total playtime along with the number of thumbs-up and thumbs-down reactions, clearly indicating the community's feedback
Order of Battle: Panzerkrieg DLC
| ID | Name | Type | Release Date | |
|---|---|---|---|---|
| 312450 |
|
Order of Battle: World War II | GAME | 30 Apr, 2015 |
Order of Battle: Panzerkrieg offers 1 downloadable content (DLC) packs, each adding unique elements and extending the core gameplay experience. These packs may include new missions, characters, maps, or cosmetic items, enriching the player's engagement with the game.
Packages
| ID | Name | Type | Price | |
|---|---|---|---|---|
| 206068 | Order of Battle: Panzerkrieg | Package | 5.84 $ |
There are 1 packages available for this game, each priced to provide players with a selection of in-game currency, exclusive items, or bundles that enhance gameplay. These packages are designed to offer players various options to customize and advance their game experience.
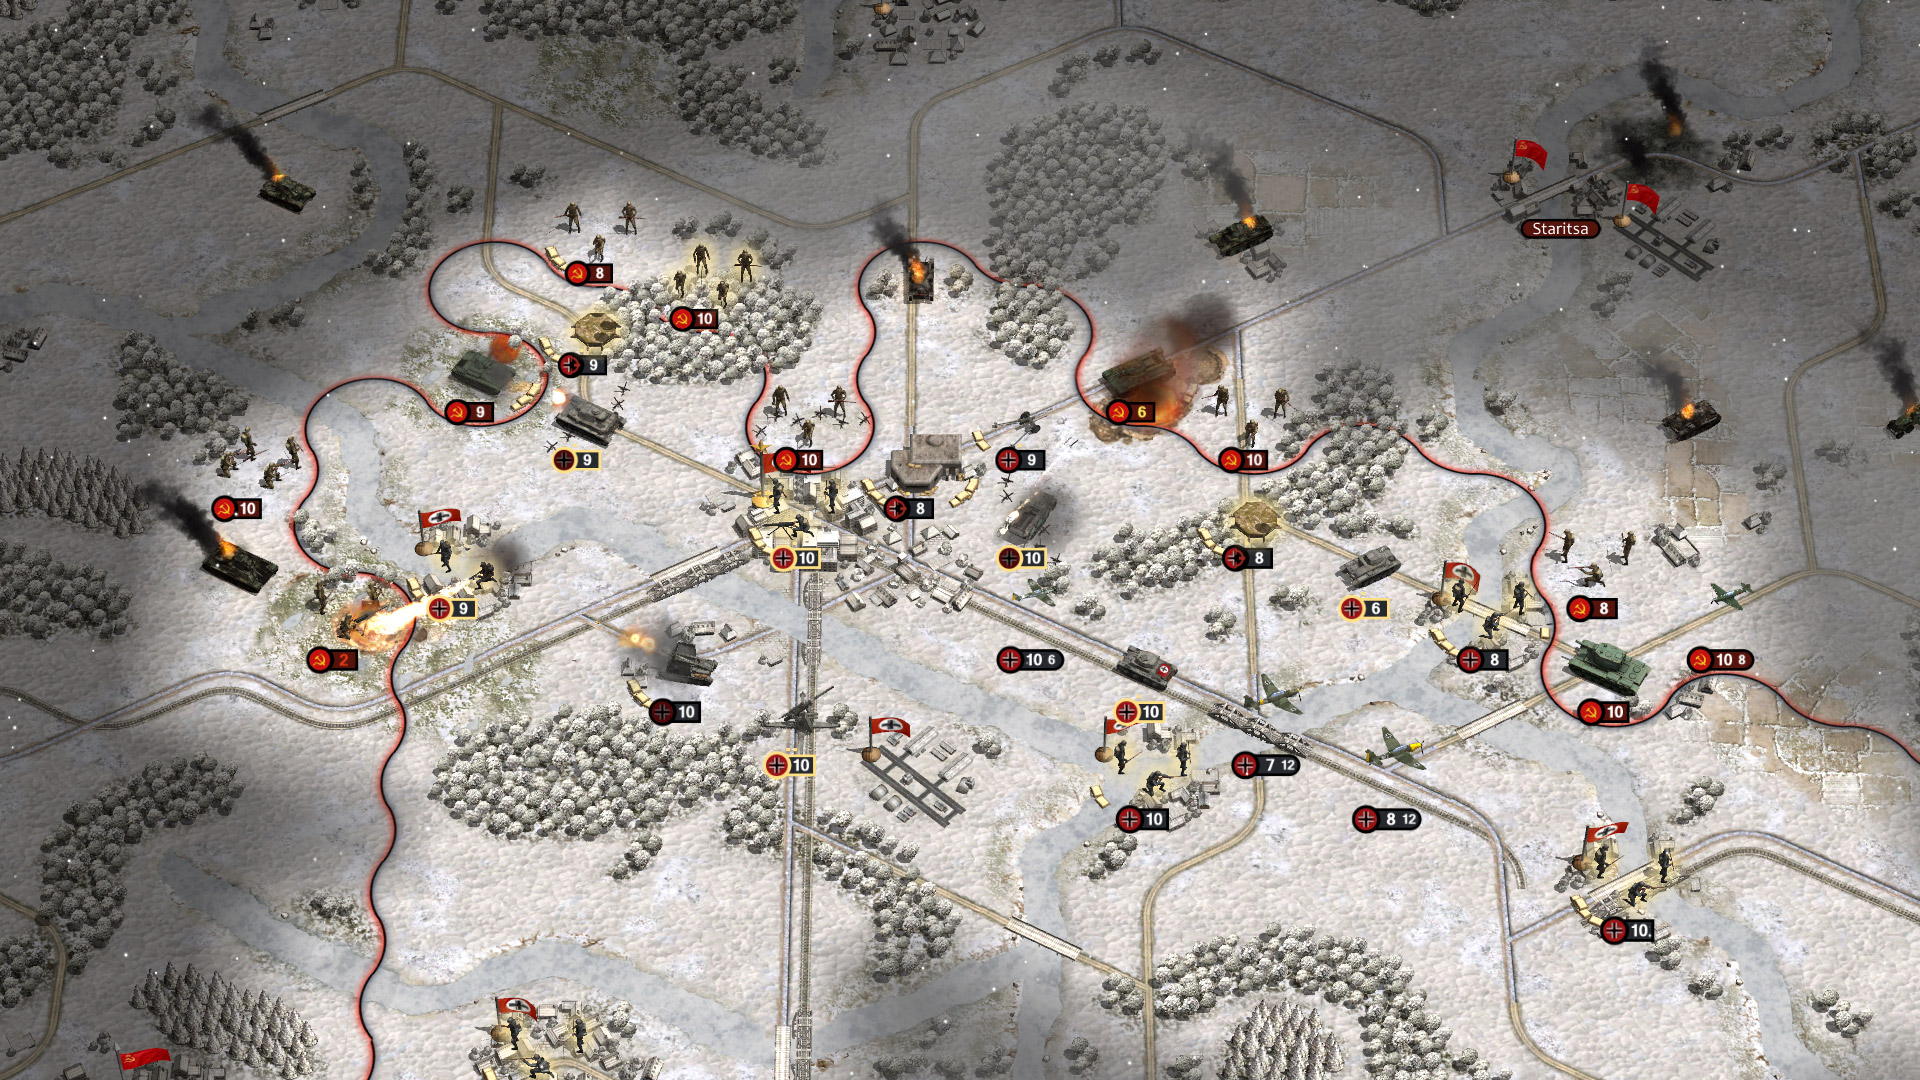
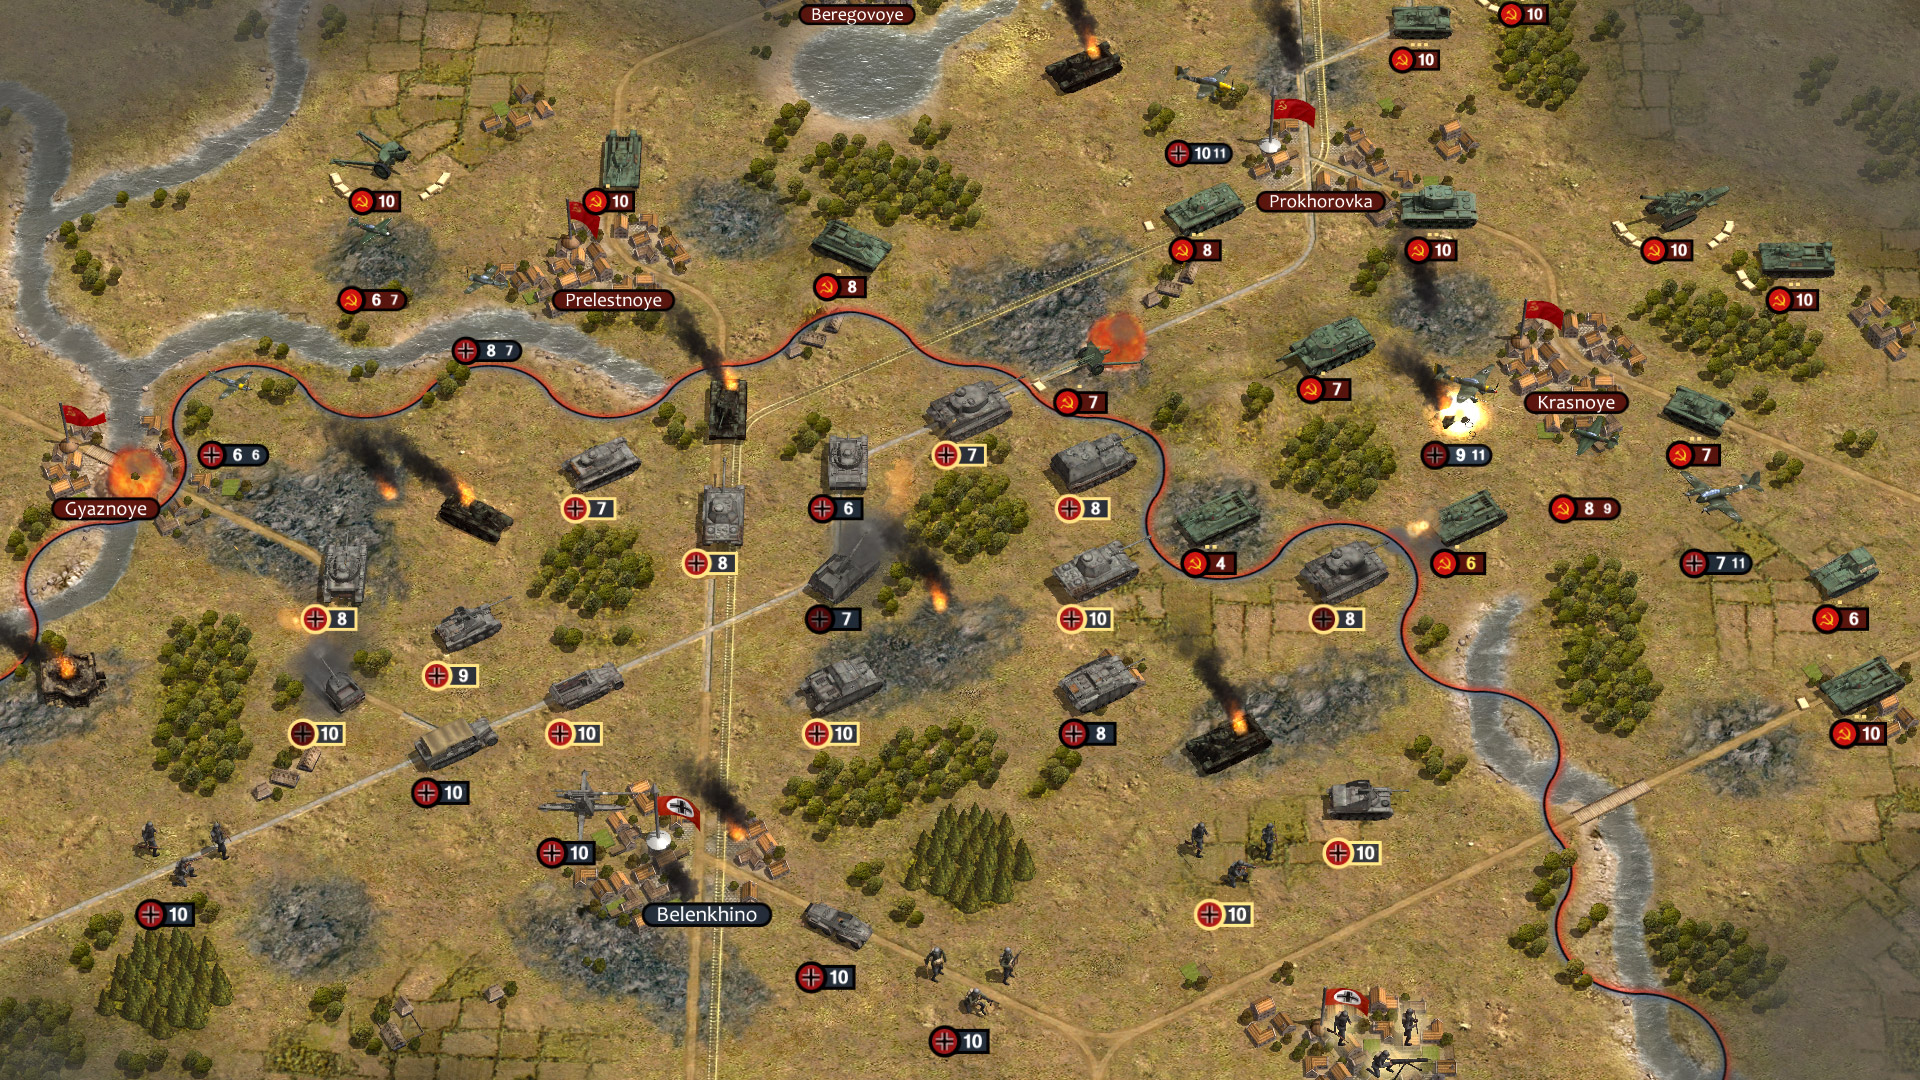
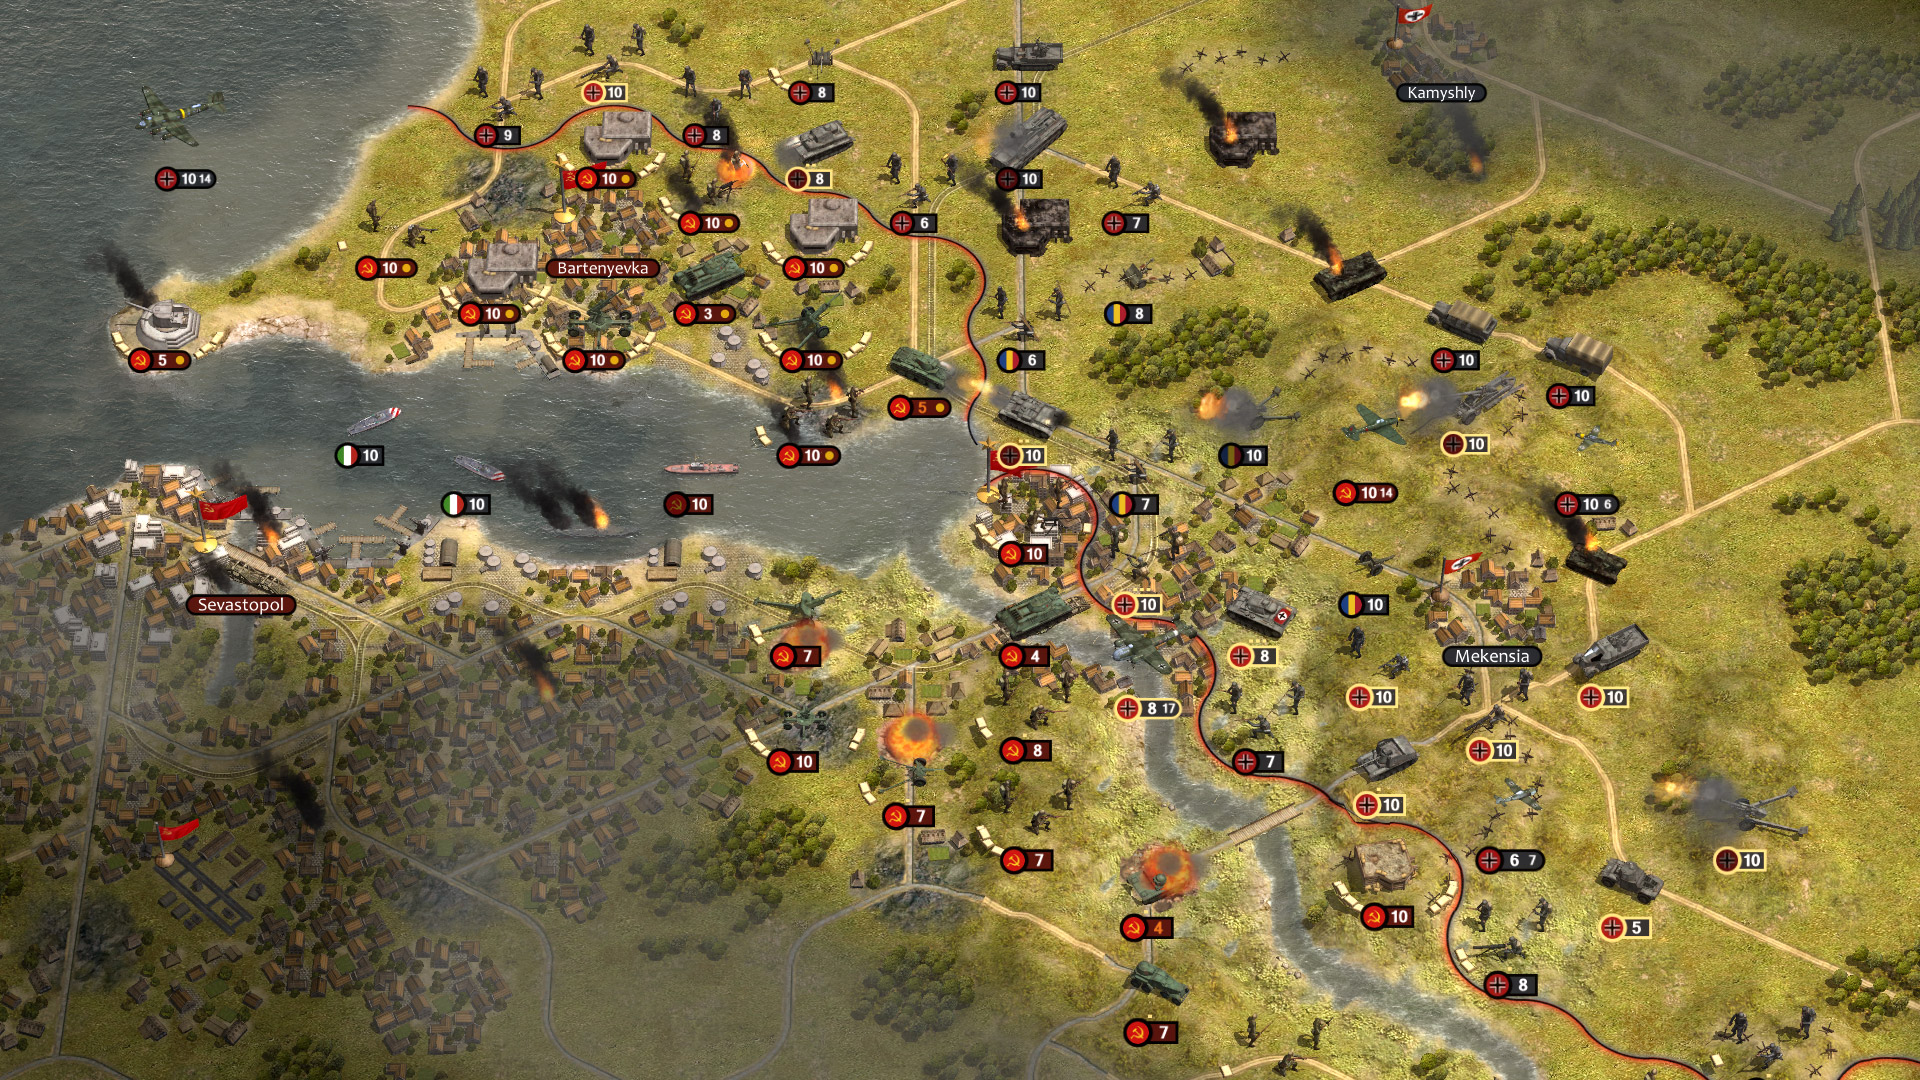
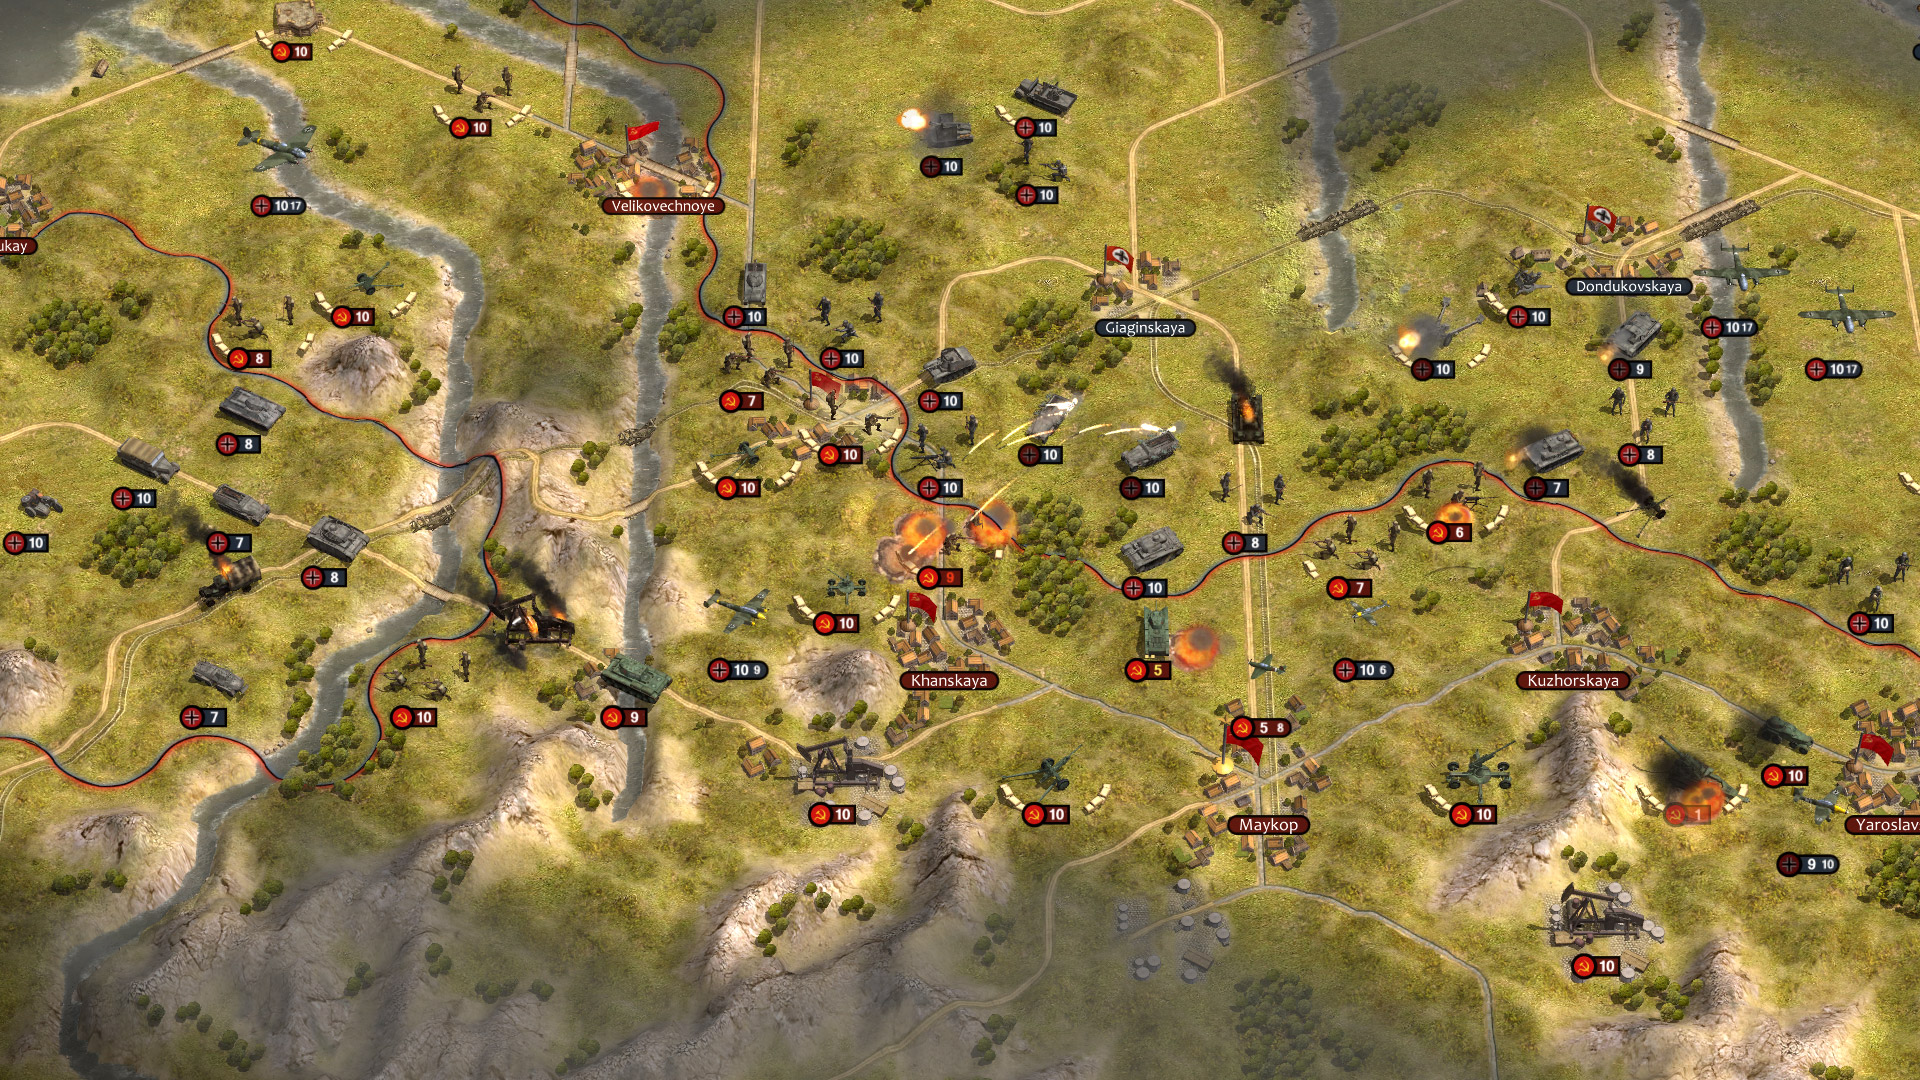
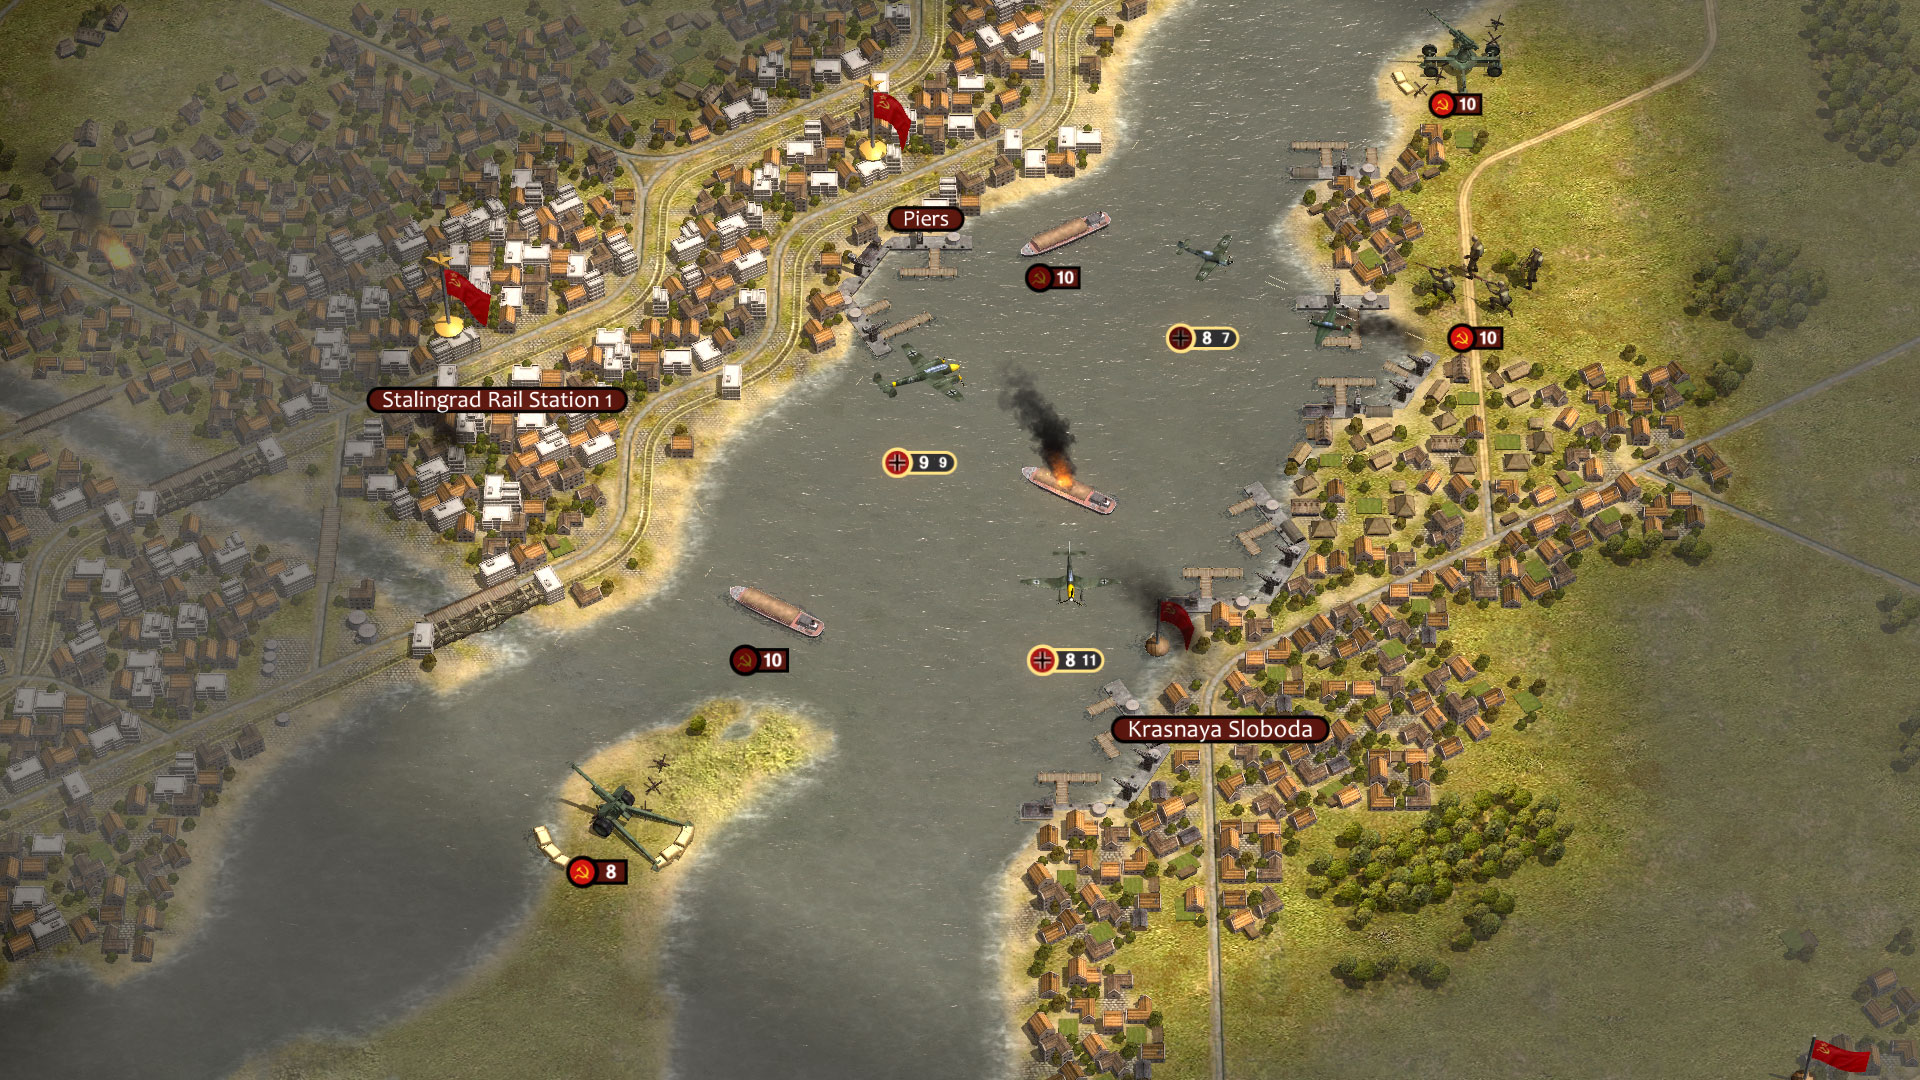
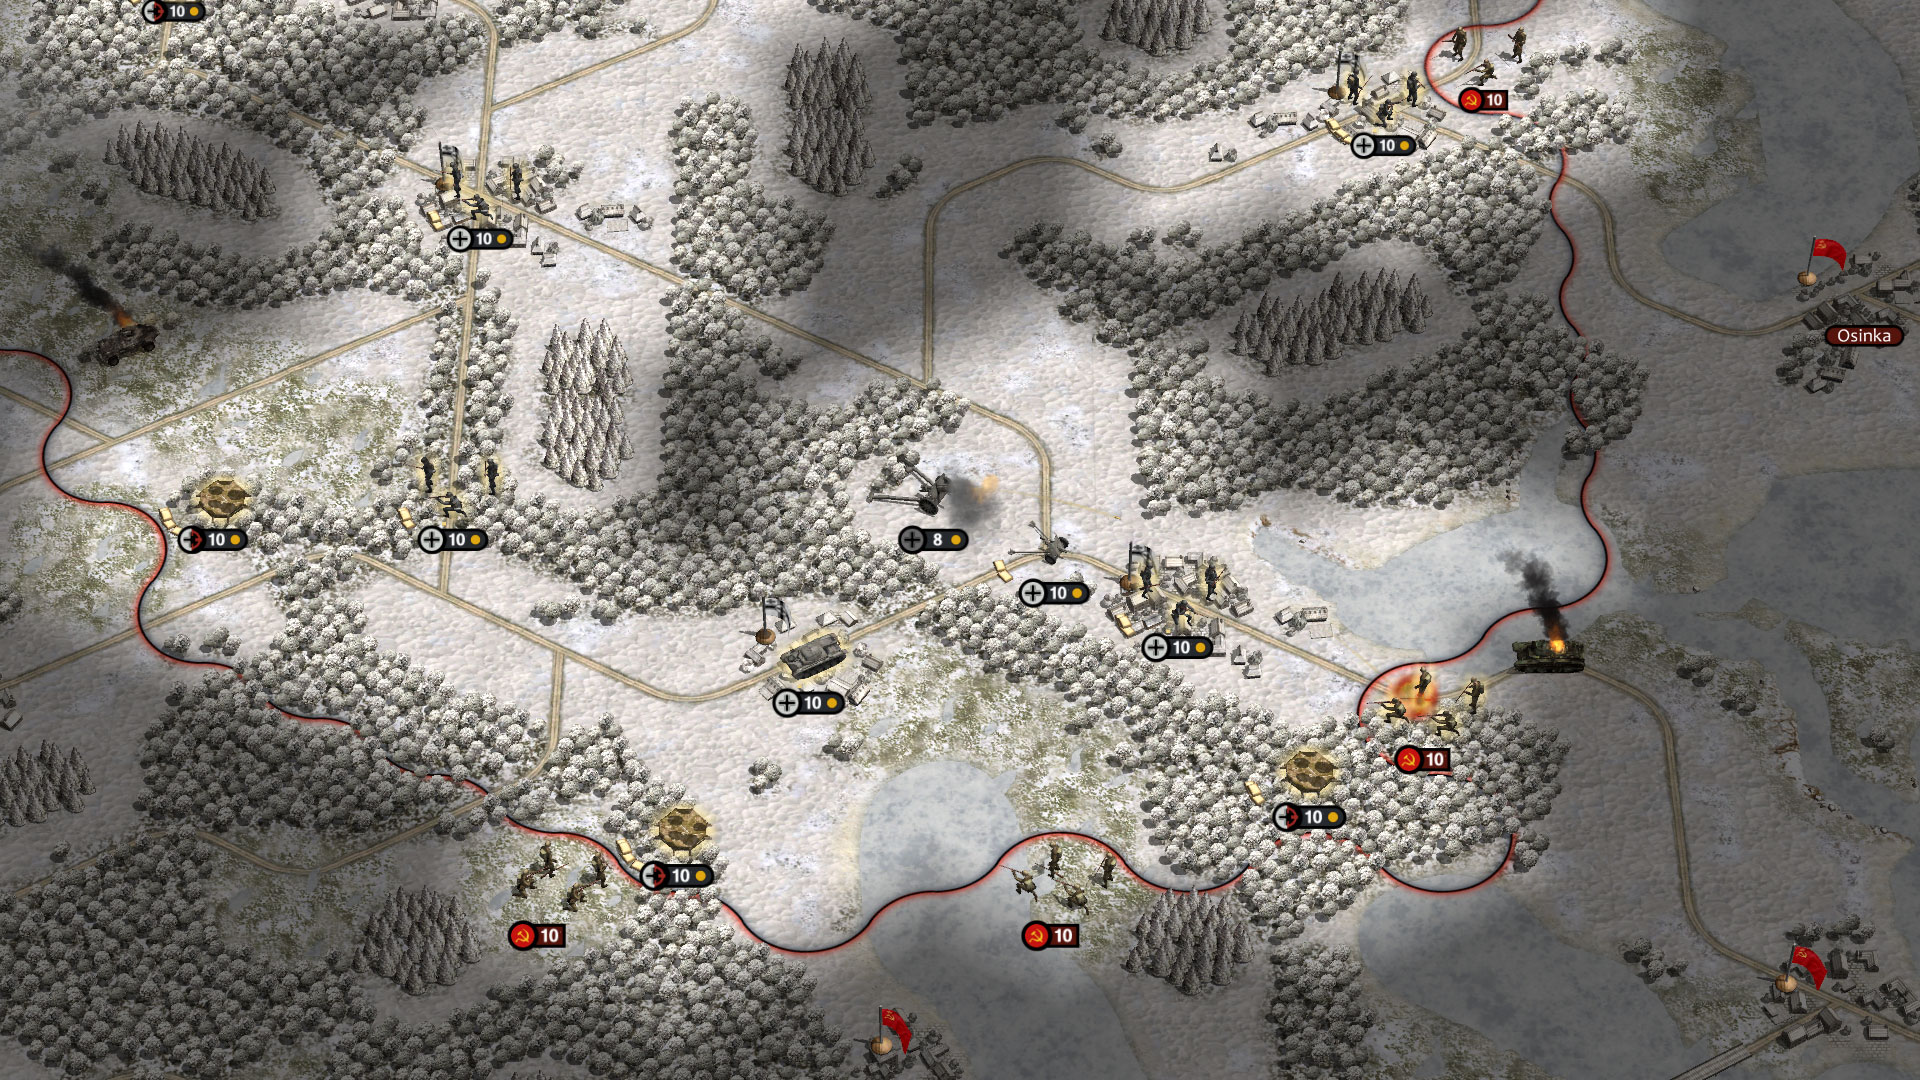
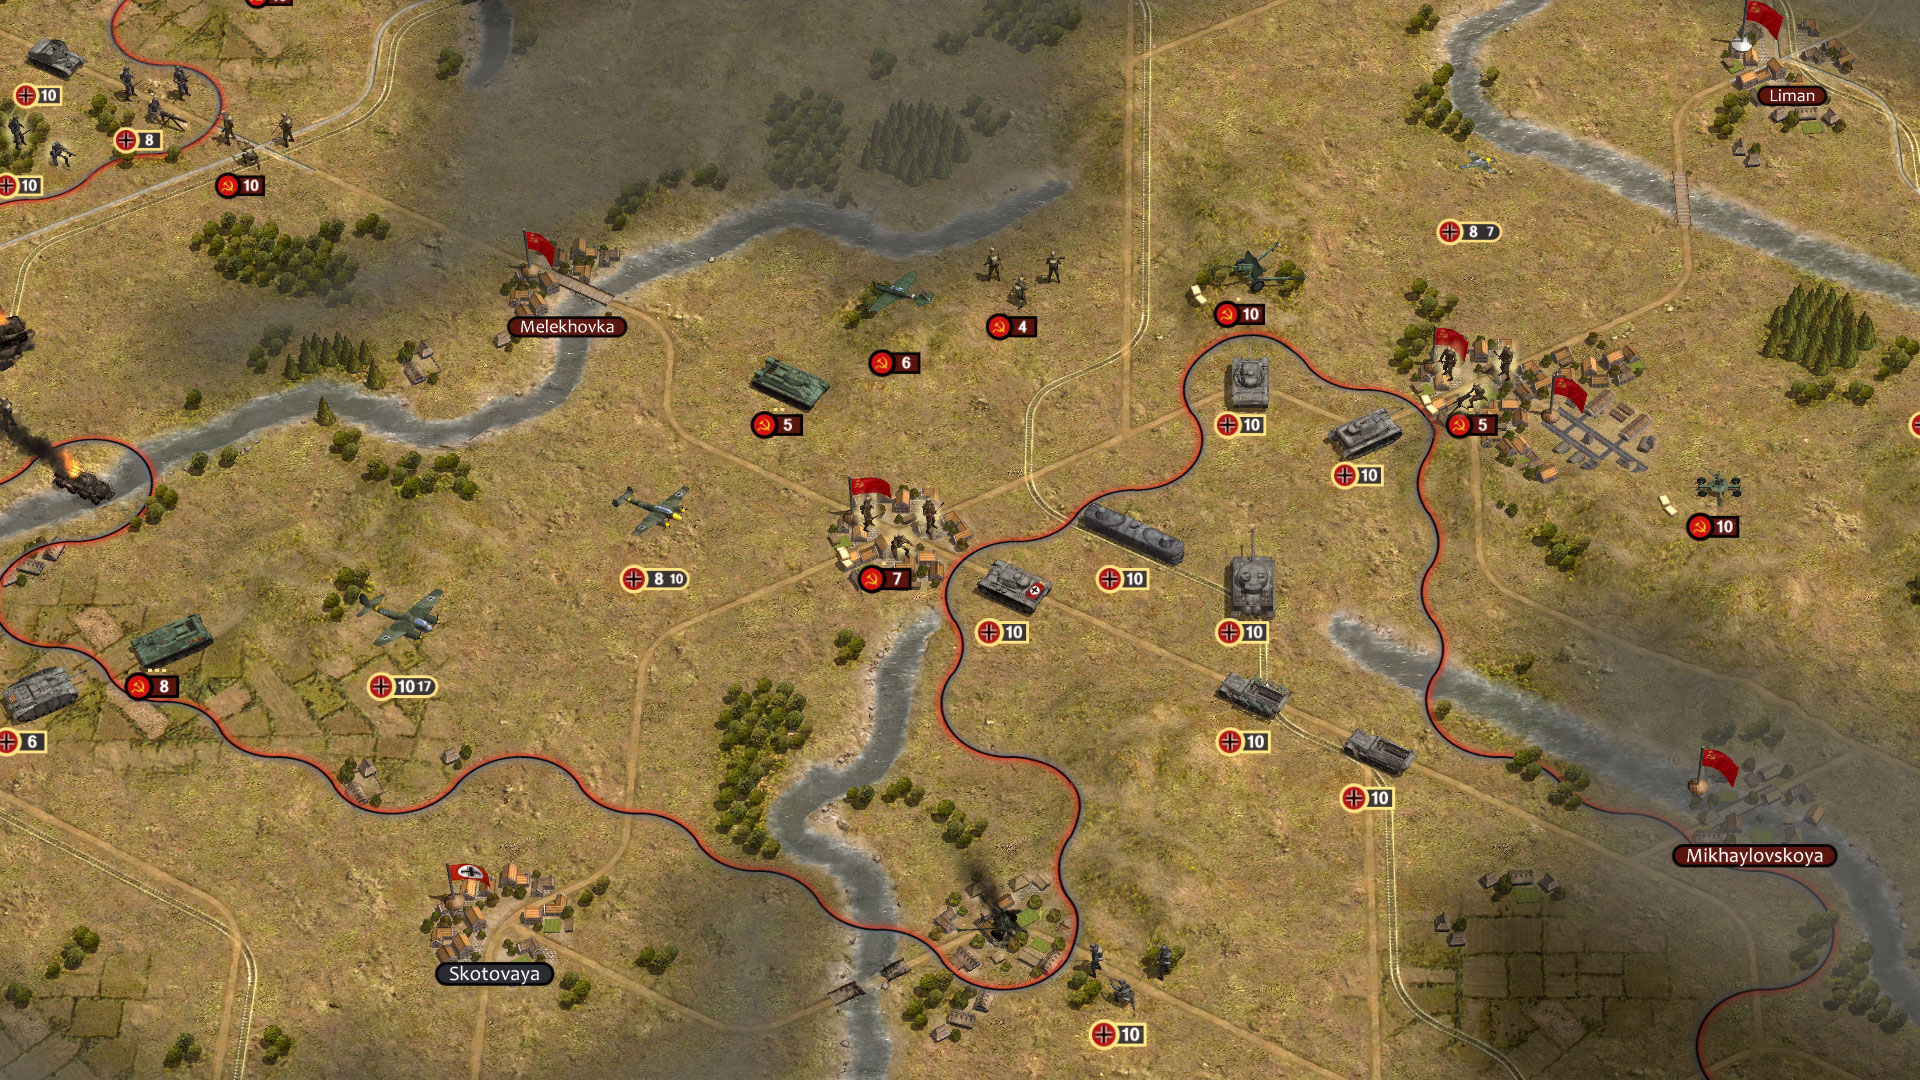
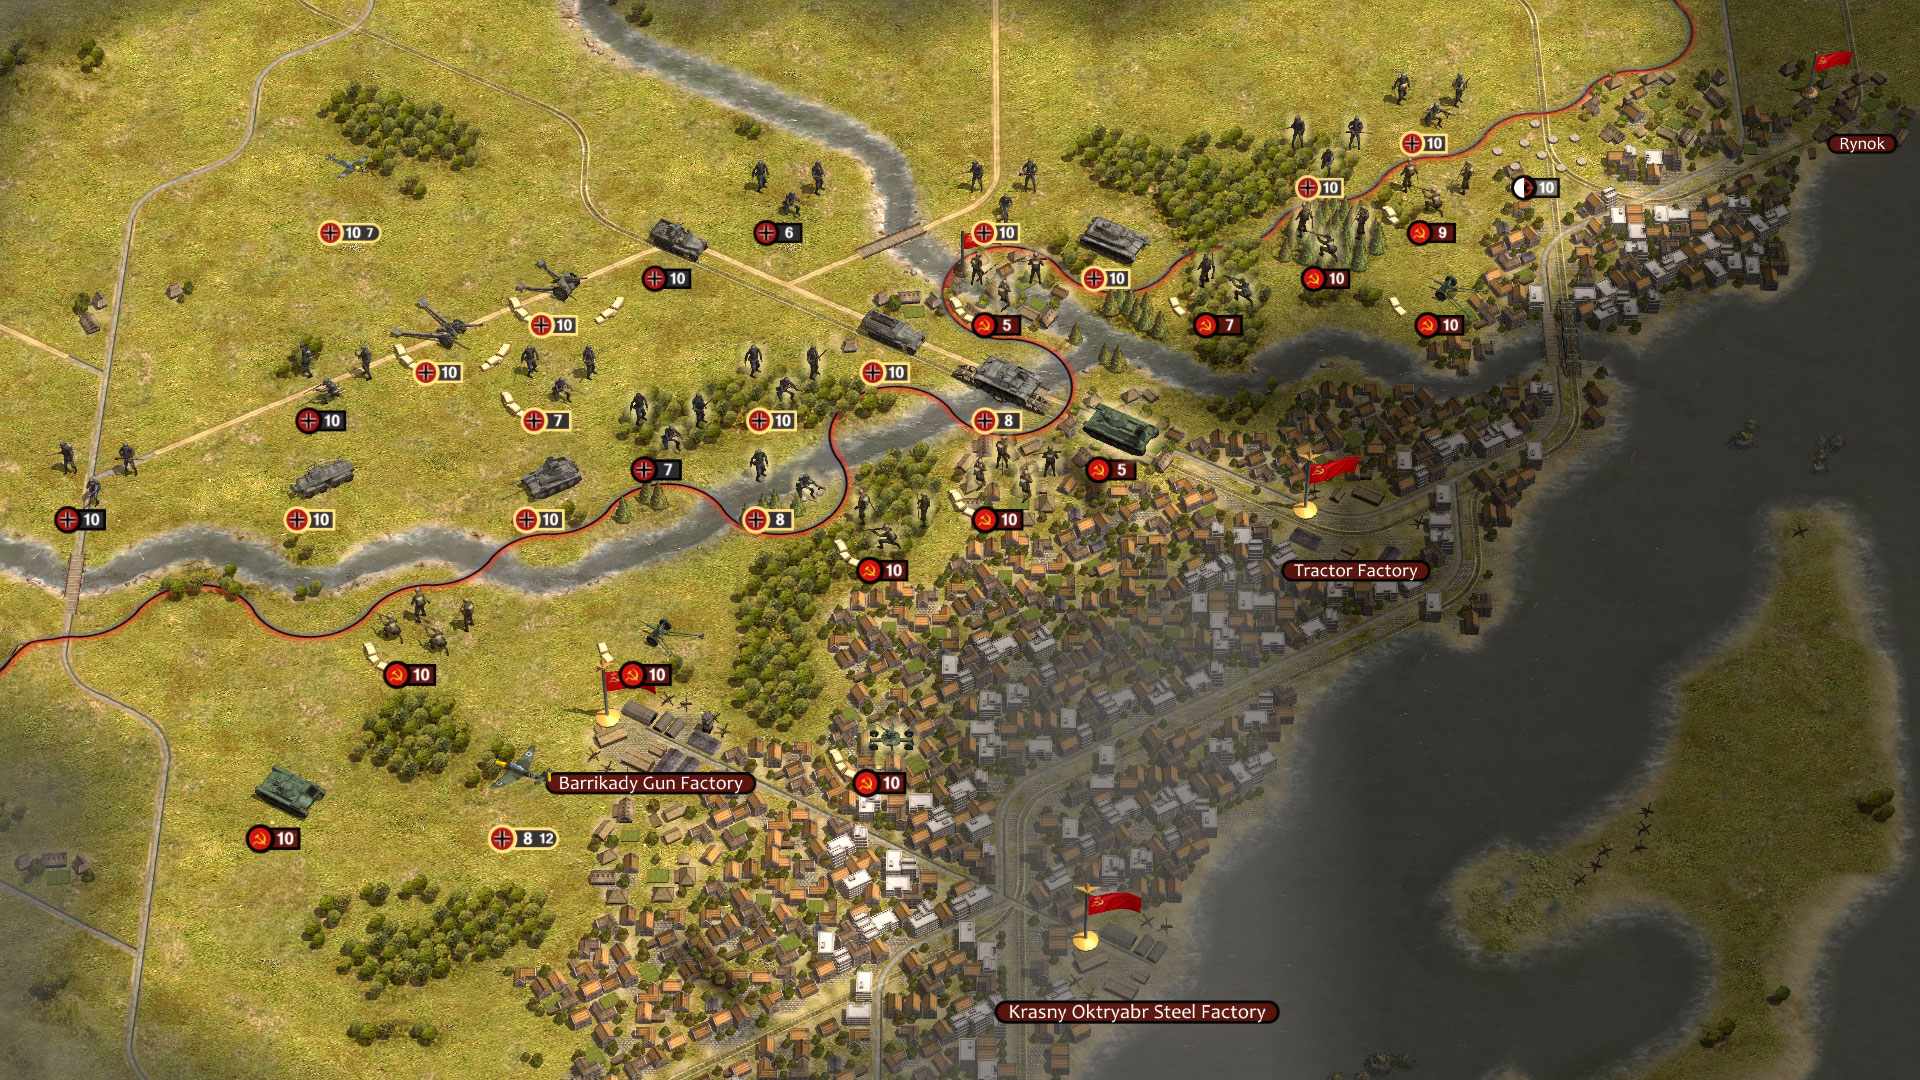
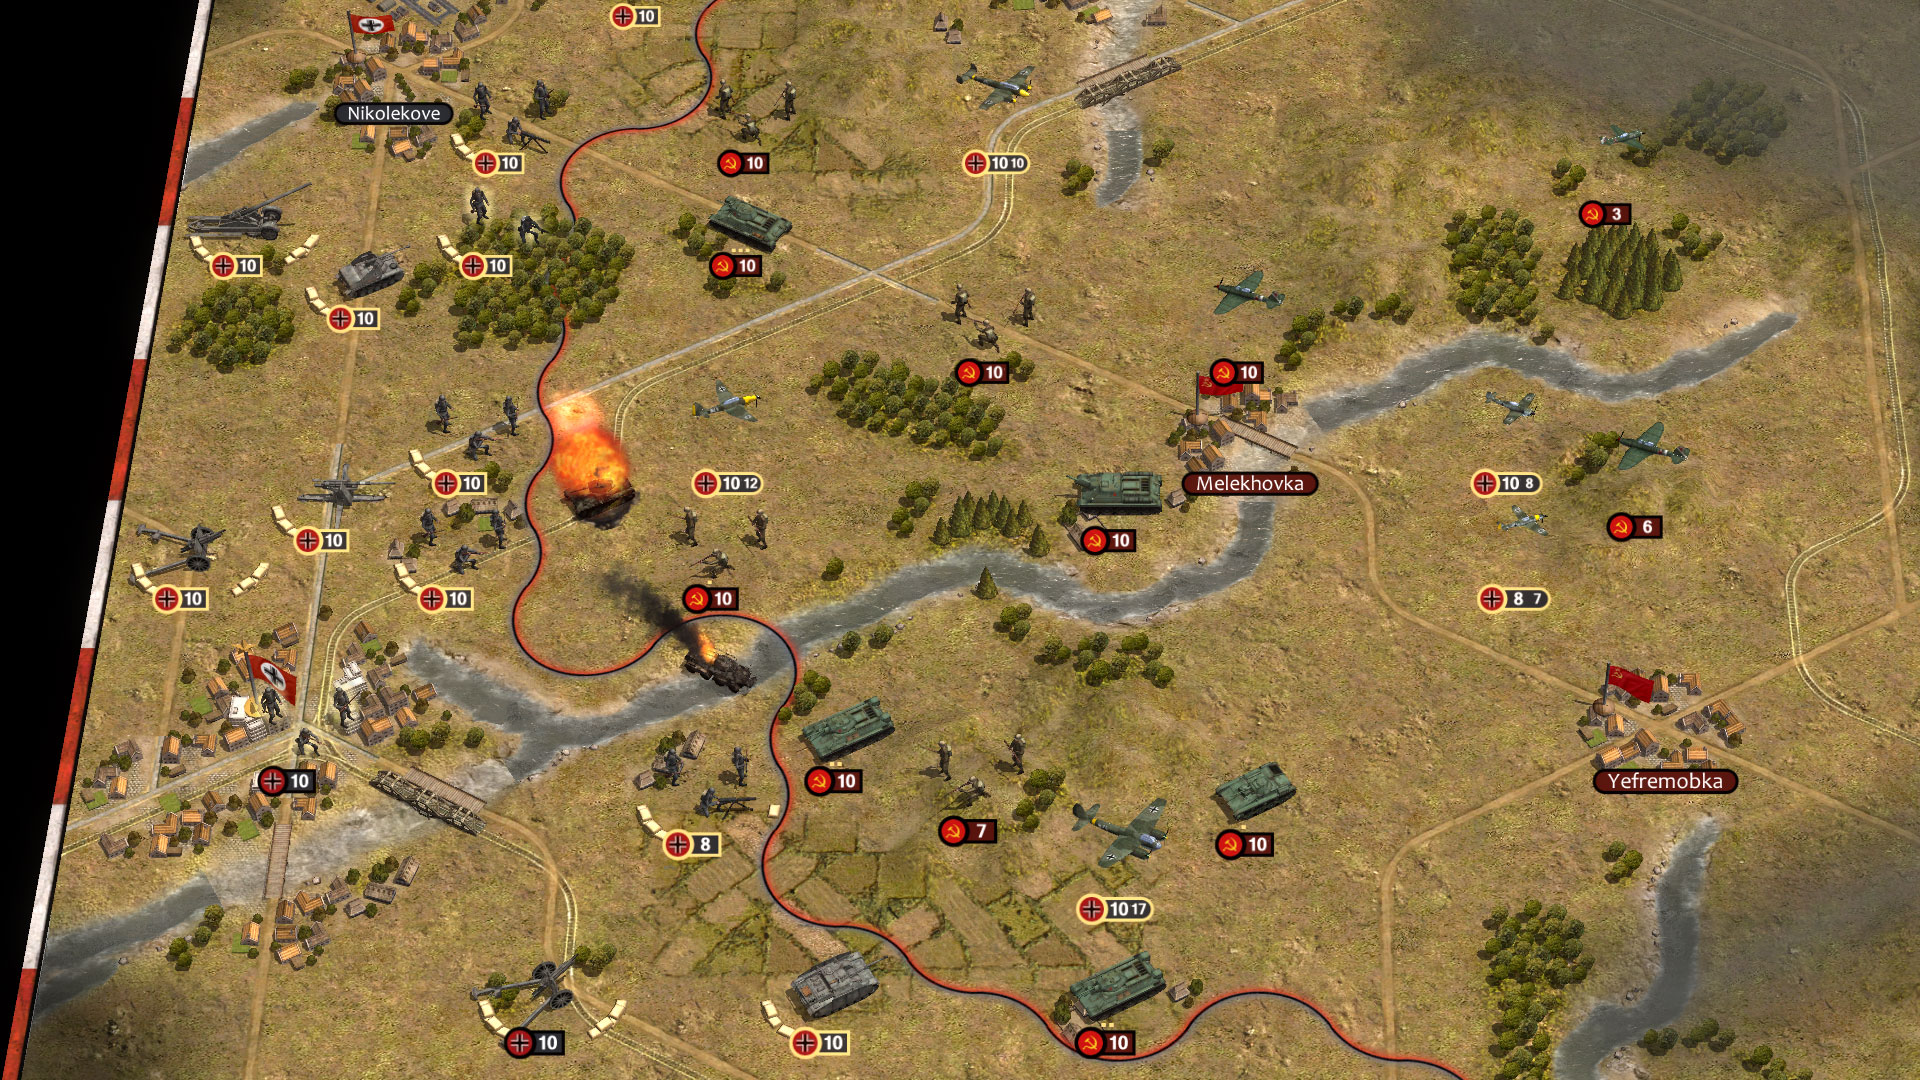
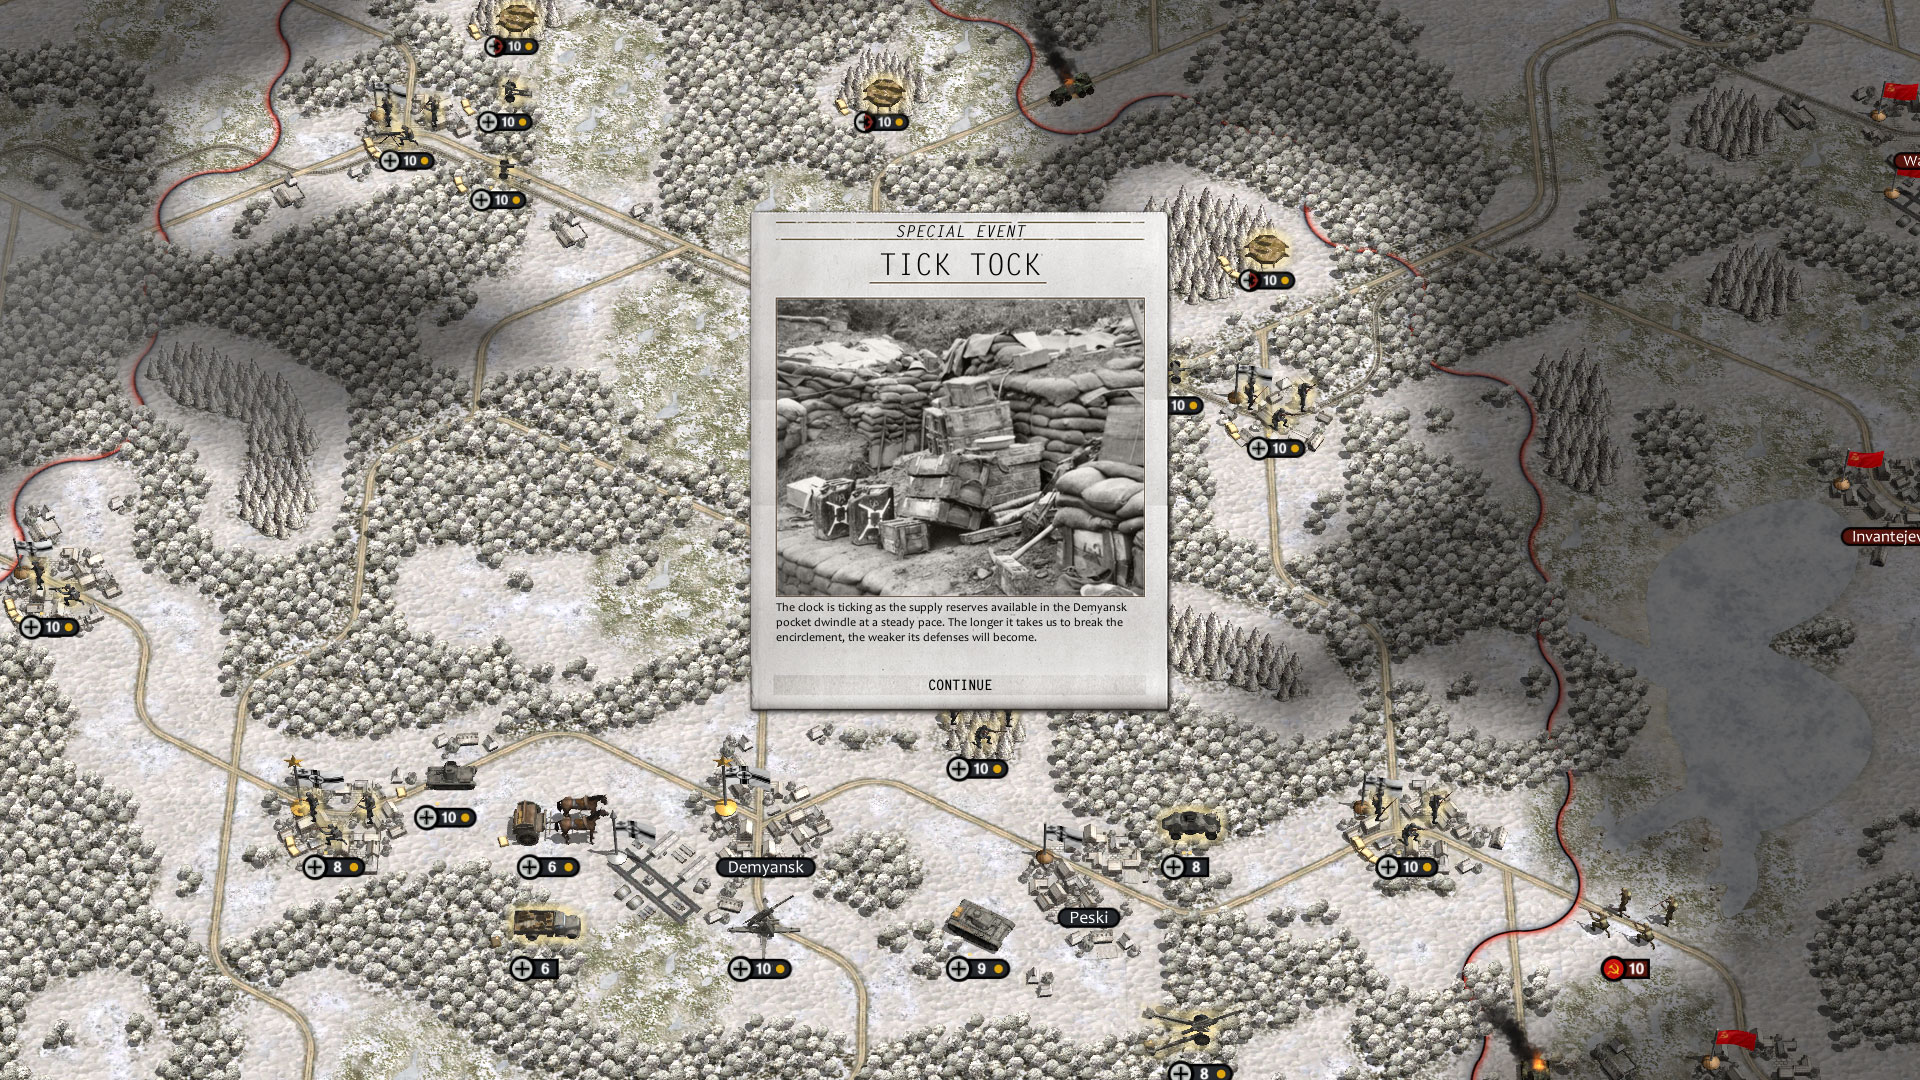
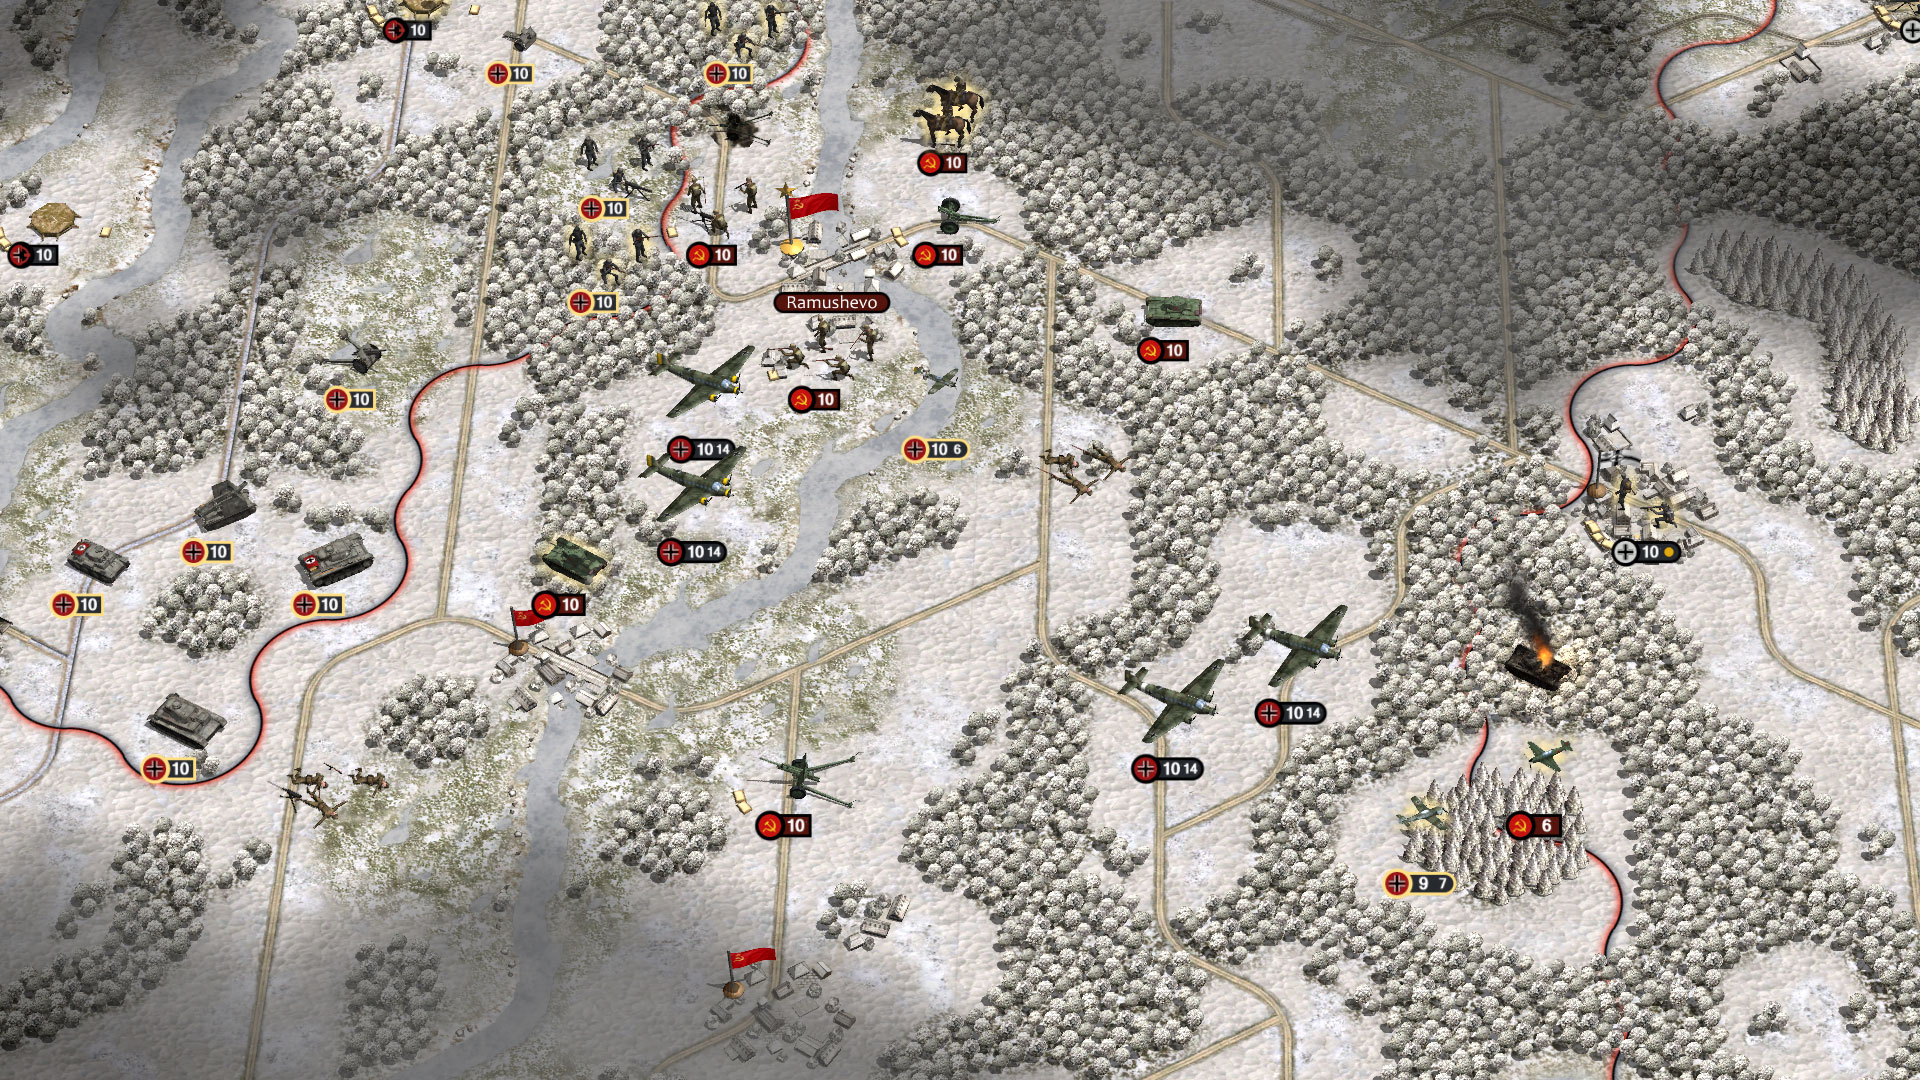
Order of Battle: Panzerkrieg Screenshots
View the gallery of screenshots from Order of Battle: Panzerkrieg. These images showcase key moments and graphics of the game.

Order of Battle: Panzerkrieg Minimum PC System Requirements
Minimum:- OS *: 8 / 10 (the game runs on Windows 7 but no support will be provided)
- Processor: Pentium 4 or equivalent
- Memory: 2 GB RAM
- Graphics: 512 Mb DirectX 9 video card with shader model 2.0
- DirectX: Version 9.0c
- Storage: 1 GB available space
- Sound Card: DirectX compatible sound card
Order of Battle: Panzerkrieg Minimum MAC System Requirements
Minimum:- OS: Mac OS X 10.7+ (the game runs on Mac but no support will be provided)
- Memory: 2 GB RAM
- Graphics: DX9 (shader model 2.0)
- Storage: 1 GB available space
Order of Battle: Panzerkrieg has specific system requirements to ensure smooth gameplay. The minimum settings provide basic performance, while the recommended settings are designed to deliver the best gaming experience. Check the detailed requirements to ensure your system is compatible before making a purchase.